
How to mark a gift as bought online: a UK guide

TL;DR:
- Most gift registries and wishlists let you mark items as purchased, helping avoid duplicates.
- Using privacy options prevents revealing buyer identity or confirming the gift to recipients.
Yes, most registries and wishlists let you mark an item as purchased. Find the item on the list, select the platform’s “mark as purchased” or “reserve” option, and add your name and order number when prompted. That’s the core of it.
A few things worth knowing before you start:
- Most platforms move or cross out the item once it’s marked, so other buyers can see it’s taken.
- Some services offer a private reservation option that hides your name and keeps the gift a surprise for the recipient.
- Others send the list owner a notification the moment you mark something, so check the privacy settings first if the occasion calls for secrecy.
- If the platform has no marking feature, contact the list owner or registry support directly with your purchase details.
Table of Contents
- How to mark a gift as purchased on most platforms
- What details do platforms usually ask for?
- What if you bought the gift somewhere else?
- How to unmark an item or correct a mistake
- How Wantthis handles reserving and marking gifts
- Key takeaways
- The case for getting the marking step right
- Wantthis makes it easy to share lists and mark gifts
- Useful sources
How to mark a gift as purchased on most platforms
The exact wording varies by platform, but the underlying flow is consistent across most registry and wishlist tools.
- Log in to the platform where the list is hosted (or use the guest checkout link if the platform allows it).
- Open the shared list and find the item you’ve bought.
- Select the mark option — usually labelled “Mark as purchased,” “Reserve,” or “I bought this.”
- Fill in the requested details: your name, order or confirmation number, the retailer, and the purchase date.
- Choose your privacy setting before confirming. If you want to keep the gift secret, select the private or reservation option rather than the public “bought” mark.
- Submit. The item will typically be crossed out or moved to a purchased section in the list UI.
If you bought the item in a physical shop, use the same flow but enter the receipt number or transaction reference in the order number field. Most platforms accept this without issue.
Pro Tip: If the occasion is a birthday or baby shower, always check whether the platform offers a private reservation before marking publicly. A private marking option prevents duplicate purchases without tipping off the recipient.
What details do platforms usually ask for?
Most platforms ask for a short set of details to confirm the purchase is genuine and to update the list accurately. Having these ready before you start saves time.
- Your name (so the list owner knows who bought it)
- Order or confirmation number (the reference from your retailer’s confirmation email)
- Retailer name (especially relevant if you bought outside the registry’s own shop)
- Date of purchase
- Optional message to the list owner or recipient
The order number is the most useful piece of information. Registry support teams can use it to verify a purchase quickly if there’s any dispute or if the list needs a manual update. Without it, back-and-forth emails are almost inevitable.
Privacy options vary by platform. Common choices include:
- Hide buyer name — the item shows as purchased but your identity stays private.
- Reserve only — the item is flagged as taken without confirming it’s been bought, useful when you want to secure an item before it arrives.
- Hide price — useful on shared lists where you’d rather the recipient not see what was spent.
What if you bought the gift somewhere else?
Buying from a different retailer than the one linked in the registry is common, and most platforms accommodate it. Here’s a practical workflow.
- Check the registry for a “mark purchased” or “reserve” button. Many platforms let you mark an item regardless of where you bought it.
- Use the button if it exists. Enter the item description or link, your order number, the retailer you used, and your name.
- If no button exists, contact the list owner directly. A short message with the key details is usually all that’s needed.
- If the platform requires formal verification, contact registry support. Some platforms ask for the couple’s full names and event date alongside the purchase details when making manual updates.
When contacting support or the list owner, include these fields in your message:
| Field | What to include |
|---|---|
| Item | Link from the registry or a clear description |
| Order number | Your retailer’s confirmation reference |
| Purchaser name | Your full name |
| Date of purchase | Day, month, and year |
| Retailer | Where you bought it |
Keep your order confirmation email until the list has been updated. If the platform comes back with questions, that email is your fastest proof.
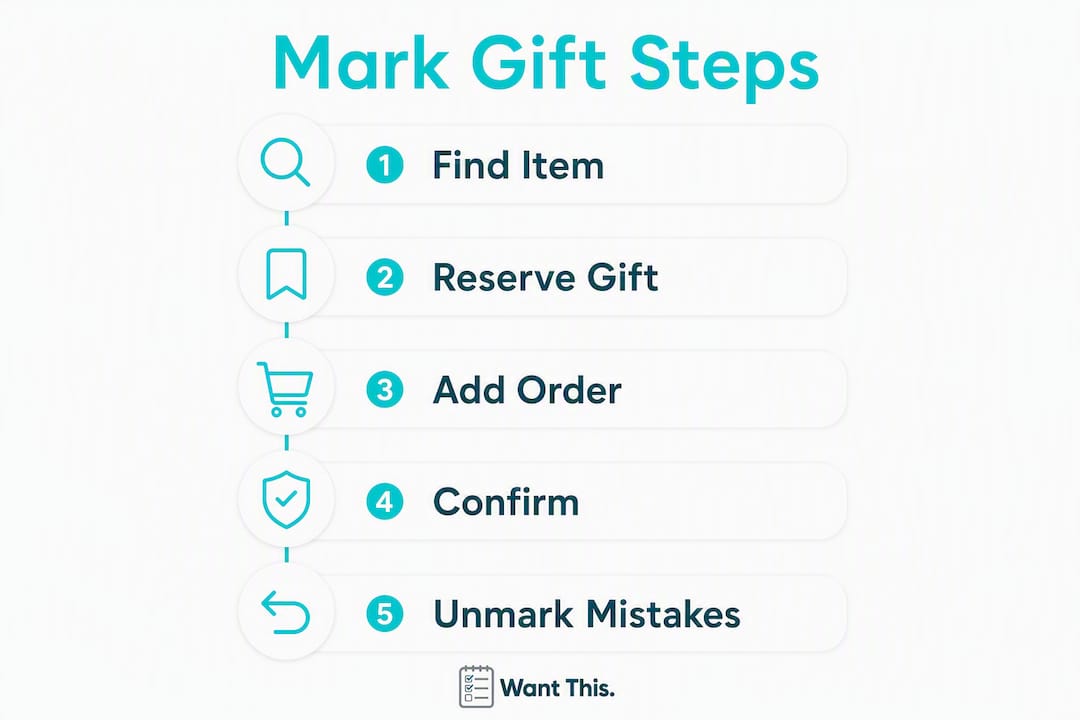
How to unmark an item or correct a mistake
Mistakes happen. You might mark the wrong item, or change your mind about a purchase. Most platforms let you undo this yourself.
- Go to My Gifts, Purchased Items, or a similar section in your account.
- Find the item and look for a Restore, Unmark, or Make available again option. Many registries include this flow on the list owner’s gifts page.
- If you’re a buyer (not the list owner), you may need to contact the platform’s support team to reverse the mark.
- If the platform has no self-serve option, email support with your name, the item, and the reason for the change.
Pro Tip: Undo a mistaken purchase mark as soon as you notice it. The longer an item sits as “purchased,” the more likely another buyer will have moved on to a different gift, leaving the original item unbought.
How Wantthis handles reserving and marking gifts

Wantthis is built specifically for UK shoppers and handles the reserve-and-mark workflow cleanly. Here’s what buyers and list owners can do on the platform.
What Wantthis offers:
- Add items from any UK retailer by pasting a product link — Wantthis pulls in the title, image, and current price automatically.
- Share lists with friends and family so they can reserve or mark items privately.
- Track price drops across 30+ UK retailers with alerts and price history.
- Use the browser extension or iOS/Android apps to add items while you shop.
- Run a Secret Santa draw with automatic name assignments.
How to mark a gift on Wantthis:
- Open the shared list you’ve received from the list owner.
- Find the item you want to buy.
- Select the Reserve or Mark as bought option on the item.
- Your name is recorded privately — the list owner can see it’s taken, but the recipient won’t see who bought it.
- If you need help, Wantthis support is accessible directly from the platform.
For buyers coordinating gifts from a shared list, the reservation feature is particularly useful at Christmas and for baby showers, where multiple family members are often shopping from the same list at the same time.
Key takeaways
Marking a gift as purchased on a registry or wishlist takes under a minute when you have your order number ready and know which privacy option to choose.
| Point | Details |
|---|---|
| Use the platform’s own tool | Select “Mark as purchased” or “Reserve” directly on the list whenever the option exists. |
| Always include an order number | A confirmation reference lets support teams verify purchases quickly and avoids delays. |
| Choose private reservation for surprises | Private marking prevents duplicates without notifying the recipient. |
| Bought elsewhere? Contact support | Provide item description, order number, retailer, and your name to get the list updated manually. |
| Wantthis for UK shoppers | Wantthis lets friends reserve or mark items privately on shared lists, covering any UK retailer. |
The case for getting the marking step right
There’s a tendency to treat the “mark as purchased” step as an afterthought — something to do later, or skip entirely if the process feels fiddly. That’s where duplicate gifts come from. Two relatives buy the same kitchen gadget; nobody’s delighted.
The platforms that handle this well, including Wantthis, separate two distinct actions: reserving (I intend to buy this) and marking bought (I have bought this). That distinction matters more than most buyers realise. A reservation holds the item without committing, which is genuinely useful when you’re waiting for a payday or a sale. Marking bought closes the loop permanently.
My practical advice: keep your order confirmation email until the gift is delivered and the list reflects the purchase. Platforms occasionally need verification, and a 30-second search of your inbox beats a support ticket chain. Build the habit of marking immediately after checkout, while the confirmation number is in front of you.
Wantthis makes it easy to share lists and mark gifts
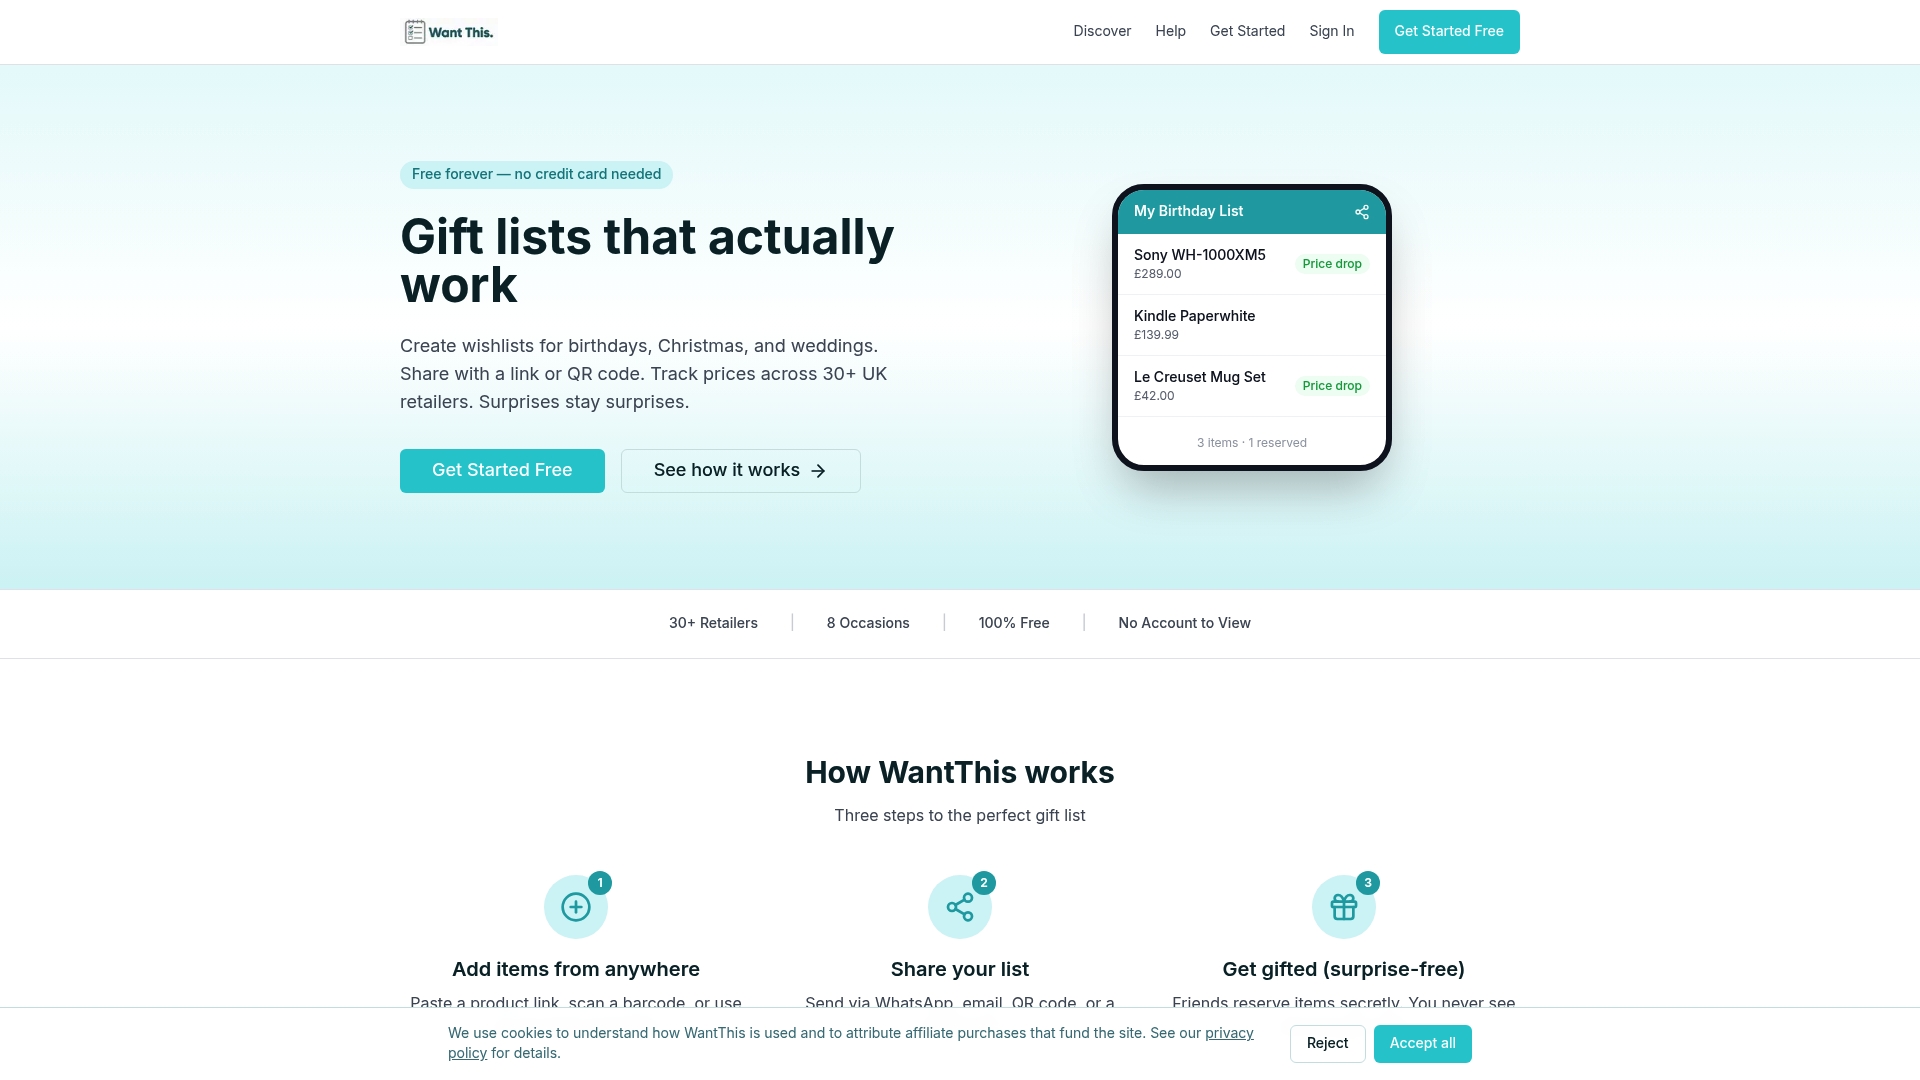
Wantthis is a free UK platform where anyone can build a wishlist from any online retailer and share it with friends and family. The sharing feature lets your buyers privately reserve or mark items as bought, so duplicates don’t happen and surprises stay intact. Lists cover birthdays, Christmas, weddings, baby showers, and Secret Santa, with price tracking across 30+ UK retailers built in.
Create your list on Wantthis today, or head straight to the sharing feature to see how the reserve-and-mark workflow fits your next occasion.
Useful sources
These official help pages cover platform-specific steps for marking gifts as purchased or restoring items.
- Wrapped Up — Track Your Gifts App: a personal gift-tracking app for buyers who want to log order numbers, delivery dates, and gift status independently of a registry.